During the long weekend, I took time to refresh on some Photography skills. I’d like to share with you something that I found at Digital Photography School. Although I’ve been using Photoshop Levels for some time now, I was amazed at how “tweaks” can make your photos “pop” by using the dropper tool…
For the sample pic, let’s take this photo that I took during my recent trip to Seoul, Korea. Nothing unusual. In fact, the DSLR got the scene pretty much decent and the image is okay as it is. But we can still enhance it.
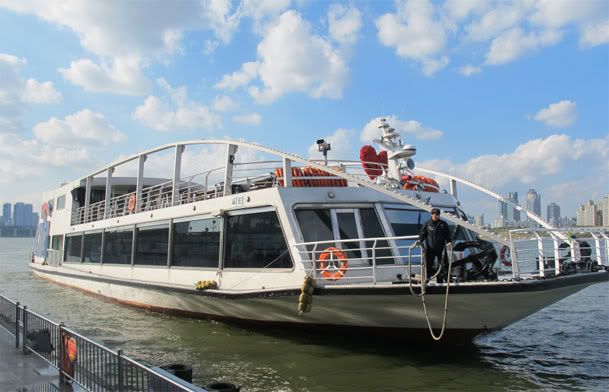
First, open your photo in Photoshop.
Then hit Control + L (or Image > Adjust > Levels).
You’ll then see this.
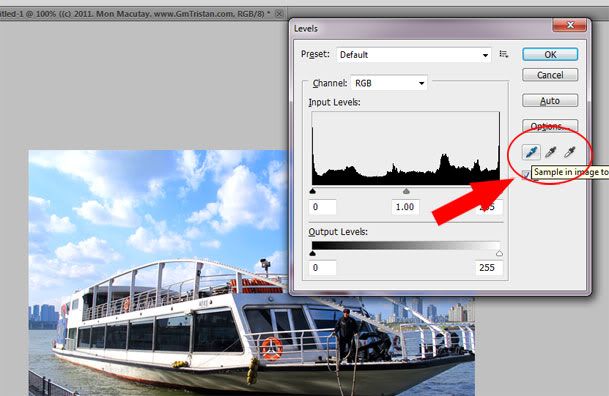
You’ll notice a graph with three slider arrows, Black, Grey and White and to the right, you’ll see 3 droplets also in black, gray and white. Now, here’s how you do it:
- Select the black dropper and select the darkest (blackest) part of your image. You’ll notice a change in the picture at once
- Select the white dropper and select the brightest part of your image
- Select the grey dropper and find the grey part (in this case, I chose the under part of the ship). You may have to do a little trial and error to get your desired effect
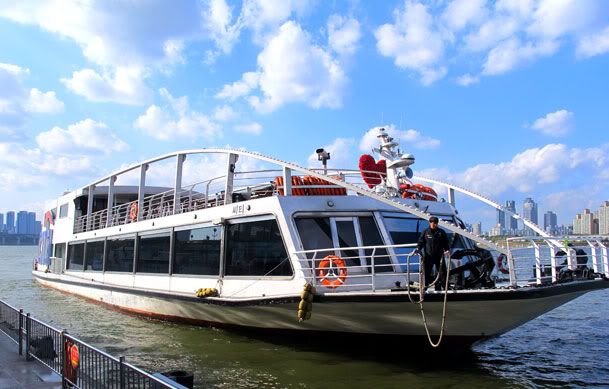
- Move the grey slider bar left or right to adjust the photo further. Stop until you find your desired effect.
After adding saturation a bit and doing some Sharpening, here’s the enhanced image:
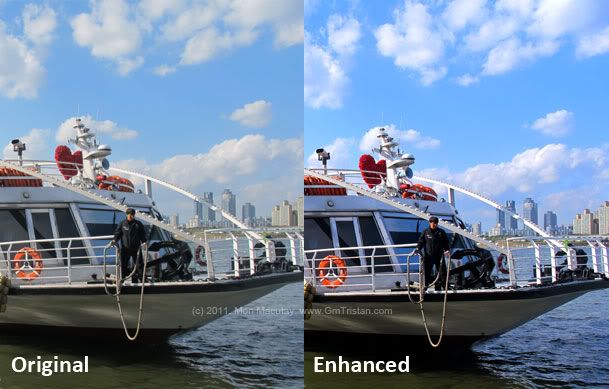
Now, let’s see the “Before and After” side by side:
There! I hope you learned a thing or two. Would be great to finally post and share better images, yes? If your friends ask, don’t forget to tell them where you learned it.
Thanks!
Check out more of my Photography-related posts here
[ source ]


